September 22, 2024
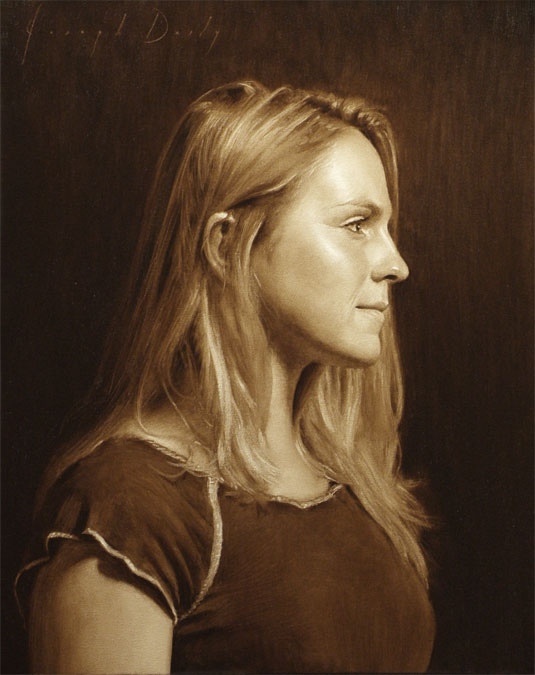
Sepia Portrait Painting Demo in Atlanta, GA
Posted on: Mar 11, 2024
1-day sepia oil portrait painting demonstration – September 22, 2024 in Atlanta, GA.
Posted on: Mar 11, 2024
1-day sepia oil portrait painting demonstration – September 22, 2024 in Atlanta, GA.
Posted on: Mar 10, 2024
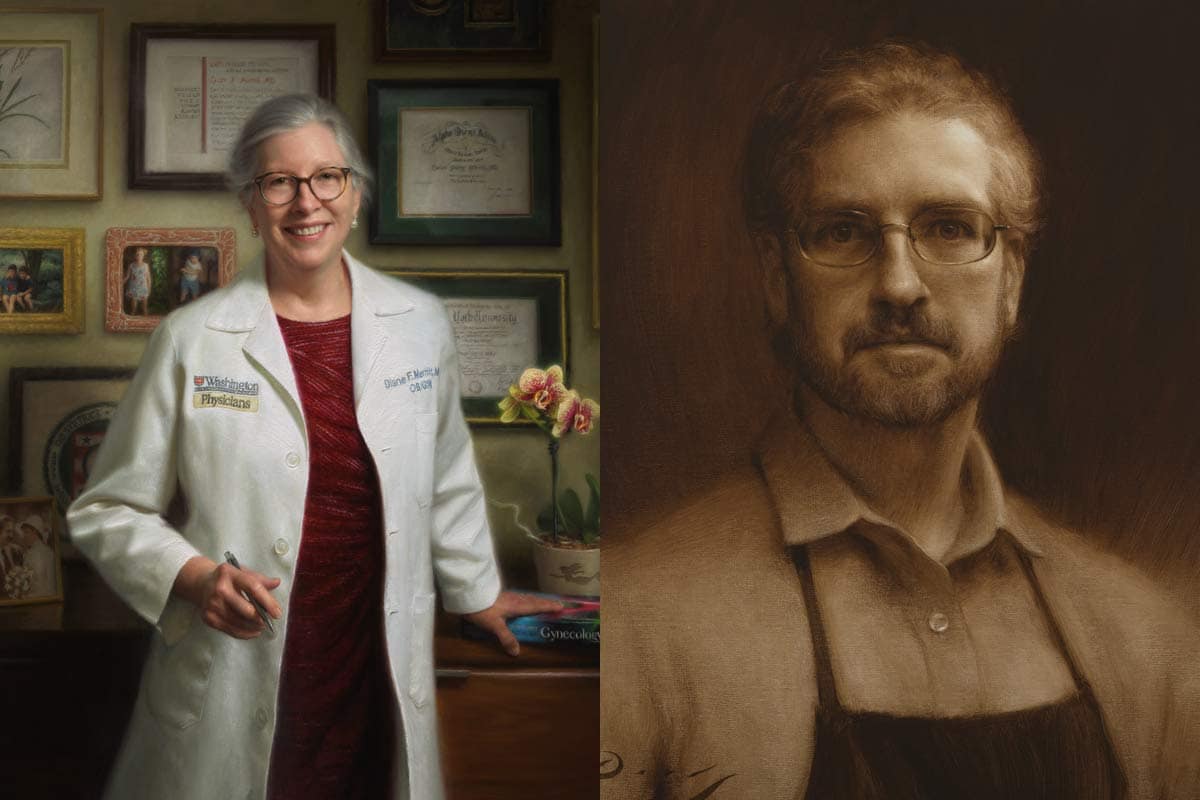
3-day oil portrait workshop – September 19–21, 2024 in Atlanta, GA. All levels of experience are welcome!
Posted on: Aug 19, 2020
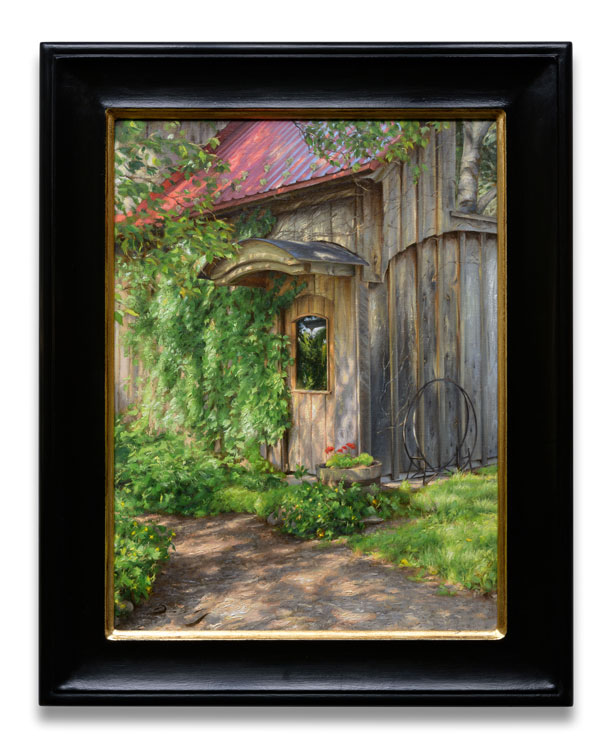
“The Doorway” depicts the rear entrance to a structure built years ago by my late father-in-law, John. When I moved to the property, he installed a stairway just inside this door, leading up to a lumber loft that we converted into a painting studio for me. It is a joy to walk through this doorway every morning to begin the workday, and I was grateful for the occasion to reflect on John’s craftsmanship and our friendship while painting this piece.

Posted on: Aug 07, 2020
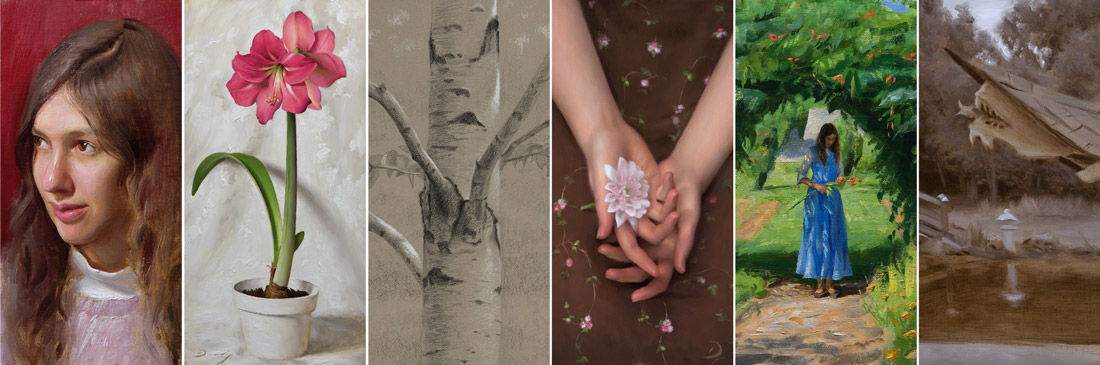
I’m happy to announce that my online exclusive exhibition with Anthony Brunelli Fine Arts is now live!
Posted on: Jan 10, 2020
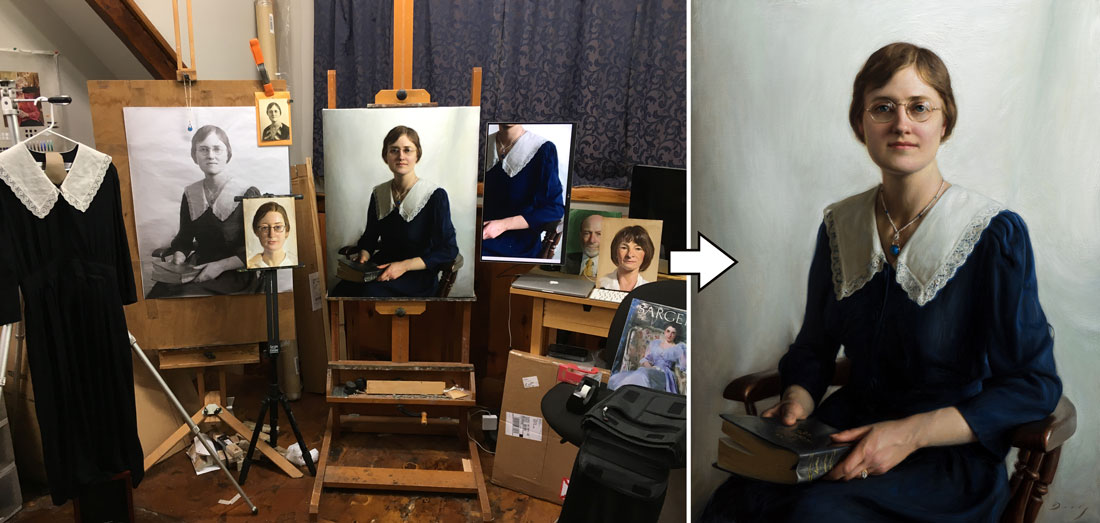
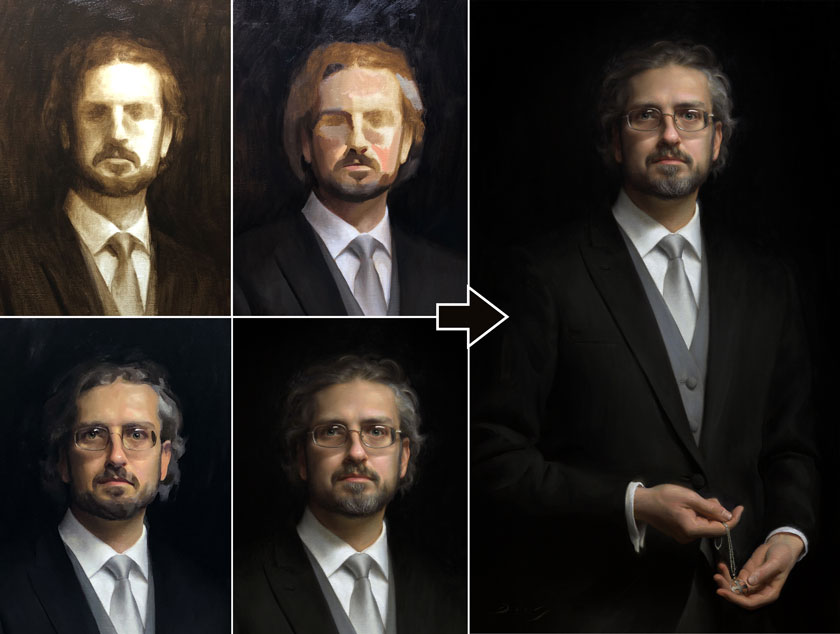
Join me on a full day whistle-stop tour of my commissioned portrait procedure!
Posted on: Jan 10, 2020
5-day oil portrait workshop – April 5–9, 2021 in Boston, MA. All levels of experience are welcome!

Posted on: Jan 10, 2020
UPDATE: This workshop has been rescheduled to February 10–12, 2021 in Binghamton, New York. All levels of experience are welcome!
Posted on: Jan 09, 2020
UPDATE: This workshop has been postponed indefinitely due to the Covid-19 pandemic.
Posted on: Sep 25, 2019
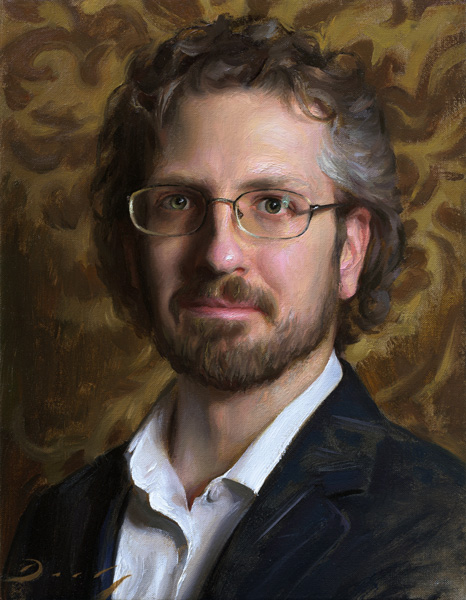
Announcing a retrospective exhibition of my paintings at the Broome County Arts Council‘s Artisan Gallery – October 4-26, 2019 in Binghamton, NY. I will also paint a self portrait demonstration at the gallery on Saturday, October 5, 11am–3pm, which is free and open to the public.
Posted on: Feb 05, 2019
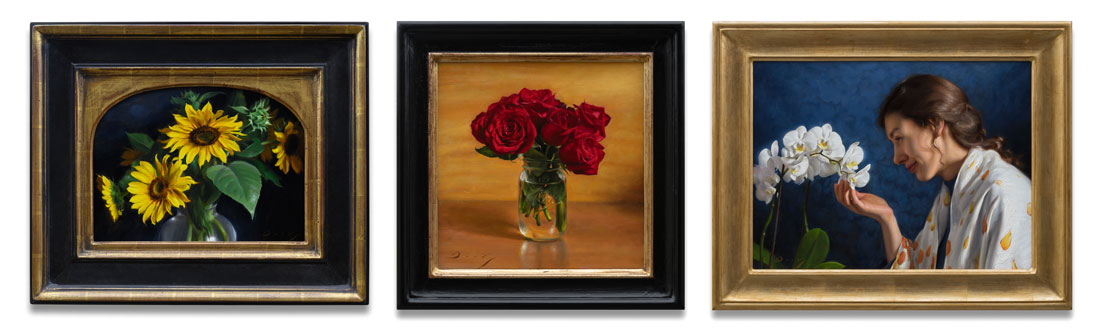
I’m happy to announce that I will have three paintings available for purchase in the “ARC Visions” exhibition at Arcadia Contemporary, February 16 – March 2, 2019.